An outdoor water faucet may need an extension to make it more accessible to areas further away from where it is mounted. If it is mounted too low, you can make a vertical extension to make it a little taller so that you don’t have to break your back every time you bend to reach it.
You’d be surprised it is easier than you think, a DIY that will take you a few minutes and our guide. In short, there is no need for you to worry yourself. This article has all the information you could need to extend or replace the outdoor water faucet in your backyard without much problem.
Most outdoor water faucets are situated close to the house. This choice of location could be for various reasons, like reducing the cost of plumbing. The further away the outdoor water faucet is, the more the pipework. Being close to the house also makes it easy to access and takes it away from the lawn, which is subject to damage as it may not be easily visible.
This positioning, however, may not be convenient for all outdoor water needs like gardening, vehicle washes, or yard fountain. Without calling a plumber, you can extend the spigot.
How to extend outdoor water faucets
These are some creative ways to extend outside water faucets easily.
1. Using a hosepipe
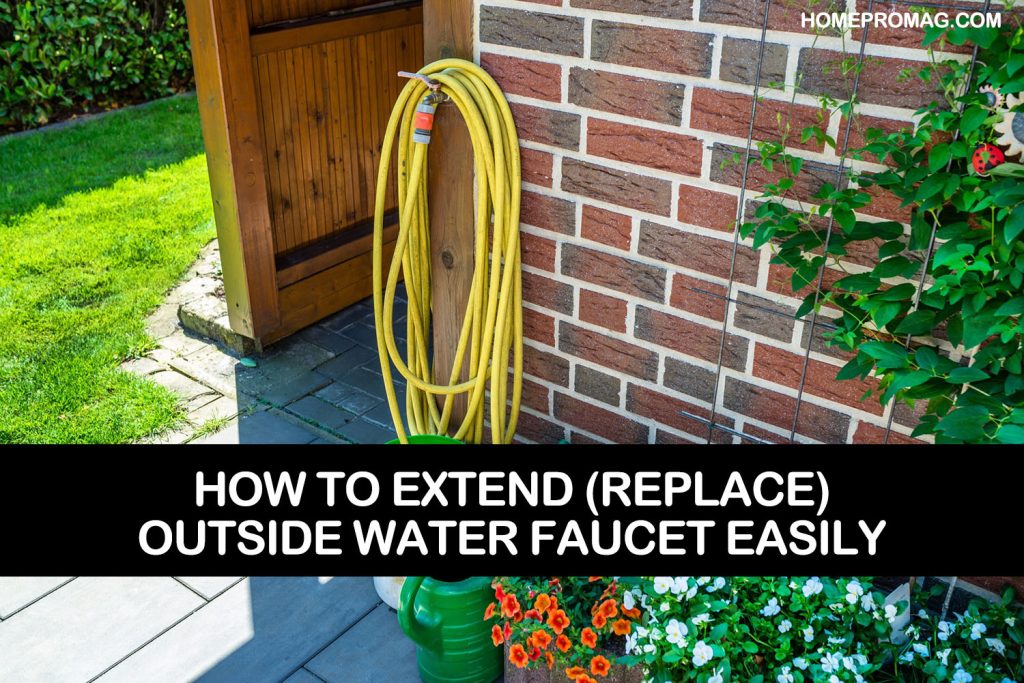
A hosepipe is the easiest way to extend an outdoor water faucet. When using a hosepipe, you do not need to take apart the faucet if it is a tap.
All you need is a hose of the same size as the faucet so that it accurately fits into the outdoor spigot.
- Turn off the faucet by turning the handle anti-clockwise to stop the water from running.
- Next, fit the hose onto the out end of the tap and ensure it fits tightly. There should be no leakage.
- You can now take the hose to the exact position you need it.
- Turn on the faucet, and you are ready to use the water.
You can use a garden hose holder to help organize your hose, especially if it is too long. It holds the hose up and prevents it from tangling up and making a mess.
Garden hose holders have different designs to serve different needs. The most common is the wall mount that is fixed onto walls by screws. There is another type that is stuck into the ground. Most garden hose holders appear streamlined to minimize the space around the outdoor spigot.
2. Using extension pipes
Galvanized extension pipes are considered neater than long and endless hoses. Depending on the amount of work to be done, you might need any of these items for this option:
- Connectors– These could be tees, reducers, elbows, depending on the type of connections you will need to make.
- Extension pipe(s)– PVC for underground connections or galvanized pipes that stick off the ground.
- Glue – To join PVC pipes.
- Thread-sealing tape– to provide a watertight seal in mating threads.
- A pair of pliers.
- Measuring tape – To measure diameters and lengths.
Get the sizes of every pipe fitting right so that they fit into each other accurately. Ensure the materials you buy from the home improvement store match or are compatible with those used in your home’s plumbing.
Here is a simple guide to help you create a spigot extension:
- Turn off the water supply from the main supply valve.
- Drain water off the pipes by turning on the faucet.
- Disassemble the faucet by using a wrench or pair of pliers
- Wrap the thread-sealing tape around the end of the galvanized extension pipe. Do so on both sides.
Take one side of the threaded extension pipe and thread it into the water supply pipe where the faucet initially was and tighten it hard as you can in a clockwise direction. You can use a wrench to make the connection tighter.
Install a coupler onto the other end of the extension pipe.
Wrap the tape around the base of the outside faucet, thread it onto the coupler and tighten it using a pair of pliers. Make sure all connections are tight enough to prevent any leakages.
Check the connection by turning off the faucet and turning the main water supply back on. This procedure is most suitable for a short extension. If you need to run numerous supply lines, it is better to call a plumber as he is more experienced with such detailed tasks.
How to replace outdoor water faucets
You could have various reasons for wanting to replace an outdoor water faucet. Maybe the old one has become outdated, and it could need an upgrade. Or perhaps you changed the use of the faucet. The most common reason for changing an outdoor water faucet is that it is damaged.
It is easier to replace a faulty faucet than it is to extend one. It is a simple DIY project that could take you as little as 5 minutes. You will need the tools listed above in ‘how to extend outdoor water faucets’ and a new replacement faucet.
To switch out a faucet;
- Shut off water to keep things dry while you are working.
- Drain the pipes by turning on the faucet.
- Use a pipe wrench to unthread the faucet from the water pipe. Turn the wrench anti-clockwise until the faucet is completely loose, and you can remove it from the connection.
- Take the thread-sealing tape and wrap it around the base of the replacement faucet.
- Insert the faucet onto the inner side of the supply pipe where you removed the old faucet.
- Tighten by hand and then use a wrench to tighten it harder.
Once you finish, you can turn the water back on to test the connection and see if the repair worked.
We hope this article boosts your confidence to take on a DIY plumbing fix on your outdoor water faucet. If it did, share it with others with a similar project in mind.
More on outdoor water faucets:
- Outside Water Faucet Frozen (How to Easily Unfreeze)
- How to Fix Outside Water Faucet Leaking Problems
- Outdoor Water Faucet Won’t Turn Off? How to Fix It