
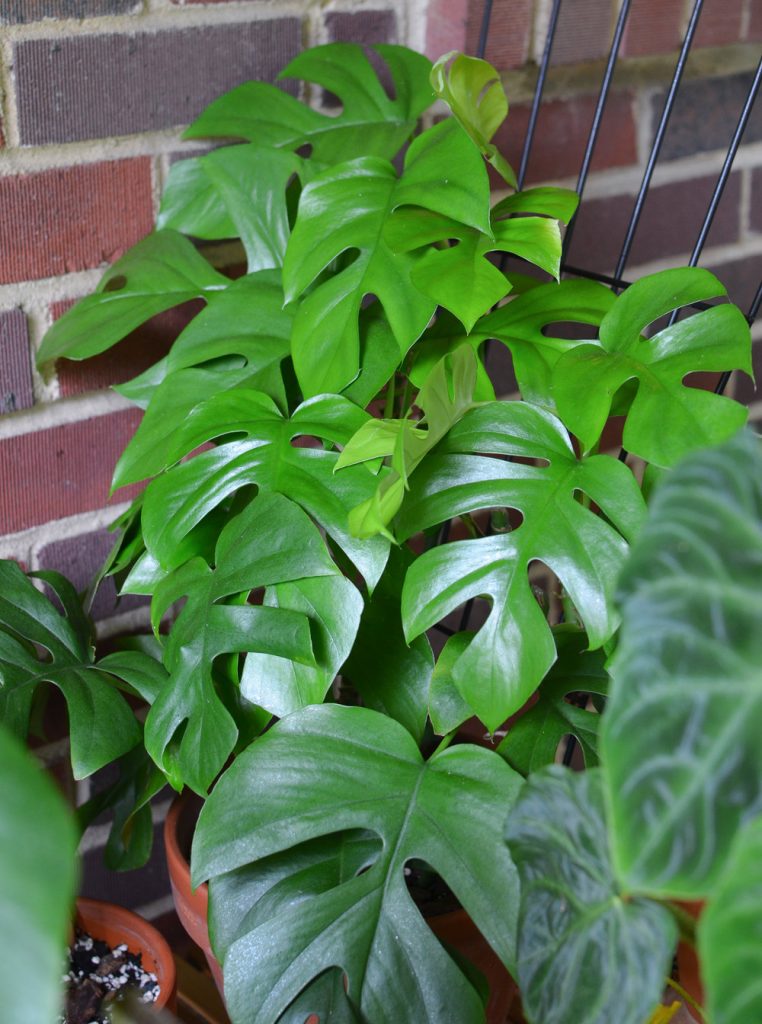
Rhaphidophora pertusa is a unique houseplant distinctly marked with split ends and large foliage holes. The heart-shaped houseplant is a low-maintenance houseplant that is suitable for beginners.
Rhaphidophora pertusa blooms and produces pale-orange flowers in the summer when it is cultivated outdoors. This does not apply to indoor-grown Rhaphidophora pertusa because they cannot bloom indoors. A Rhaphidophora pertusa leaf can grow up to 20 inches long and 10 inches wide.
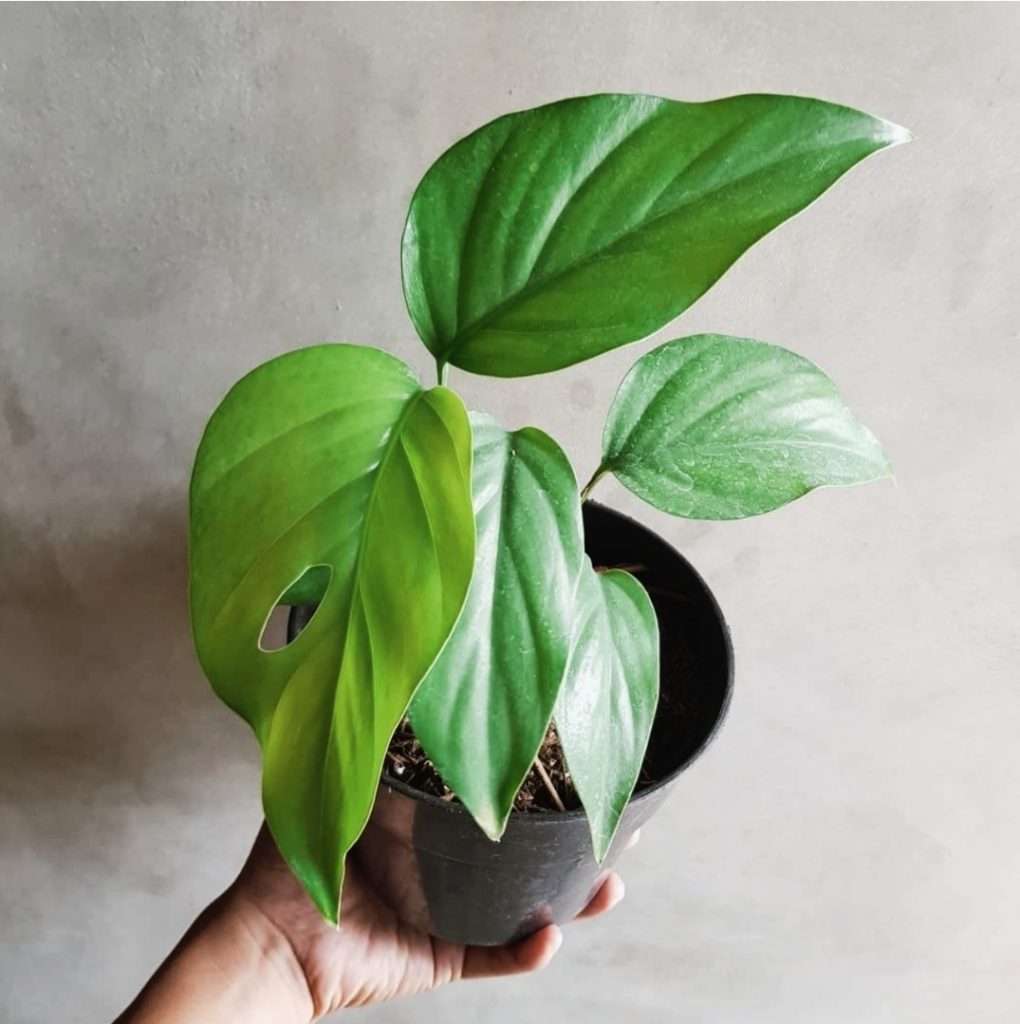
Rhaphidophora pertusa is a great option to propagate. Its distinct features improve the outlook of the environment in which it is grown. Using brightly colored and attractive containers complements the Rhaphidophora pertusa.
All information regarding growing and nurturing the Rhaphidophora pertusa has been provided for you. In addition, we included the common plant problems you may encounter and growing tips to enable you to have a stress-free propagation.
NEW: Monstera Aurea Care Guide: How to Propagate
Rhaphidophora Pertusa Plant Profile
This is the plant profile of the Rhaphidophora pertusa:
| Botanical name | Rhaphidophora pertusa |
| Origin | Northern and Southern Asia |
| Family | Aracea |
| Light | Bright indirect light |
| Watering | Moderate watering |
| Temperature | 65°F-80°F |
| Toxicity | Toxic to pets and humans |
| Propagation Style | Indoor and Outdoor propagation |
| Food | Balanced Liquid Fertilizer |
| Humidity | Low humidity |
| Foliage color | Green |
| Susceptible Plant Issues | Root rot, stunted growth, curled tips, wilting leaves, discoloration of foliage surface, cold injury, and Pest Infestations |
How to Propagate Rhaphidophora Pertusa
Rhaphidophora pertusa can be propagated using three methods: soil propagation, water propagation, and air layering. Soil propagation has a beginner-friendly procedure and is not as tricky as water propagation. On the other hand, water propagation allows you to watch the growth of your Rhaphidophora pertusa before transplanting it.
1. Soil Propagation
These are the guidelines for soil propagation:
- Step 1: Pour your organic soil mix into a well-drilled container.
- Step 2: Water the soil until it is completely dry.
- Step 3: Cut a healthy stem from the mother plant that has at least two nodes. It’s best to cut below the node. There should be at least two leaves along the stem of the cutting.
- Step 4: Apply your rooting hormone to the base of the stem (optional).
- Step 5: Make a hole in your potting mix with a dribble. Insert your cutting after that until it is secure and erect.
- Step 6: Place the container in an area where it can receive bright indirect light. The plant can be placed near a window or on a shady patio.
- Step 7: Mist the plant on a regular basis.
The roots of your Rhaphidophora pertusa should develop within 3-4 weeks of propagation.
2. Water Propagation
These are the guidelines to follow for a water propagation;
- Step 1: Select and cut a healthy stem with at least 2 nodes.
- Step 2: Place the cutting in a clean glass jar.
- Step 3: Ensure the stem is not submerged in the jar, as it can result in root rot.
- Step 4: Place the plant where it can receive bright, indirect light.
- Step 5: Change the water on a regular basis. You should change the water every 3-5 days to prevent it from becoming murky and a breeding ground for mosquito larvae. Never use water at extreme temperatures.
Your Rhaphidophora pertusa should start developing roots within 3–4 weeks of propagation.
3. Air Layering Propagation
Air layering propagation is mostly used for outdoor propagation. These are the guidelines to follow for air layering propagation:
- Step 1: Moisten the organic soil mix.
- Step 2: Cut through the base of one of the Rhaphidophora pertusa branches.
- Step 3: Insert a small piece of plastic between the cut to prevent them from sealing.
- Step 4: Form a moss ball and secure the stem inside it.
- Step 5: Wrap plastic wrap around the moss ball.
- Step 6: Once the roots have fully formed, cut the branch from the mother plant.
- Step 7: Remove the plastic wrap, but leave the moss ball intact. This is because the roots are tightly entangled.
- Step 8: Transfer the plant to an organic soil mix in a well-drilled container.
Rhaphidophora Pertusa Care Guide
This is a care guide for nurturing your Rhaphidophora pertusa. All of the following requirements must be met to grow a thriving plant.
1. Organic Soil
When grown in an organic soil mix, Rhaphidophora pertusa thrives. An organic soil mix allows for efficient water drainage, and air circulation, and contains the necessary nutrients for a healthy plant.
2. Well-drilled Container
A well-drilled container is an important aspect of propagating your Rhaphidophora pertusa. An appropriate container prevents overwatering that can result in swamped soil. A swamped soil often results in root rot, which is a terrible condition for Rhaphidophora pertusa.
3. Adequate Light
Rhaphidophora pertusa thrives in an environment with bright indirect light. When grown indoors, they should be placed near a window or patio that allows them to receive about 10–12 hours of sunlight daily. If grown outdoors, they should be grown in a shaded area where they can receive bright but indirect sunlight. Rhaphidophora pertusa should not be grown in a dimly lit environment or under direct sunlight.
4. Proper Watering
Sustaining the supply of nutrients from the soil to your Rhaphidophora pertusa requires proper watering. Before watering, we recommend using a moisture gauge to determine how much water the soil requires. This prevents over or under-watering. Rhaphidophora pertusa should be watered at least once a week. Allowing the soil to entirely dry out or become waterlogged can cause complications for your plant’s growth.
5. Temperature And Humidity
Your Rhaphidophora pertusa should be grown in an environment with warm temperatures and low humidity. To determine the humidity level, always use a hygrometer. Exposure to poor temperature and humidity conditions can hinder the growth of your Rhaphidophora pertusa.
6. Pruning
Periodic pruning enhances the growth of healthy plants. It also keeps the plant attractive because it helps improve its appearance. Pest attacks can be eliminated from periodic pruning. You should prune your Rhaphidophora pertusa when the plants become overcrowded or you notice diseased, damaged, or dead leaves.
7. Fertilization
Fertilization is required to boost the growth of your Rhaphidophora pertusa. Organic and inorganic fertilizers can be used to increase the nutritional elements in the soil. To improve the nutritional matter in the soil, you can apply peat moss, perlite, or aged manure, or you can use granular or liquid fertilizer for your Rhaphidophora pertusa. To avoid overfertilization, observe the label’s recommendations and directions before applying.
8. Periodic Repotting
Repotting is essential to preserve the continual growth of your plant. After about 2 years of propagating your Rhaphidophora pertusa, fresh soil is needed as the plant’s soil nutrients deplete over time. Repotting also gives your plant additional room to grow.
A plant grown in an undersized pot would suffer deficiencies from inadequate light and uneven watering, all of which would result in stunted growth. Repotting is also necessary when the plant has been exposed to overfertilization and overwatering for a long period.
Rhaphidophora Pertusa Plant Issues, Causes, and Solutions
These are the common problems Rhaphidophora pertusa growers are likely to encounter when nurturing the plant
| Plant problems | Signs | Causes | Solutions |
|---|---|---|---|
| Stunted growth | Leggy plants | Poor lighting, Overfertilization Root rot poor soil mix Root bound plant | Place the plant in an area where it can receive bright indirect light. Repot the plant with fresh organic soil. Use a container that matches the plant’s size. |
| Change in foliage color | Yellow leaves brown edgesGrey patches | Underwatering Root rot Overwatering Exposure to direct sunlight Overfertilization Exposure to poor lighting | Water the plants regularly but moderately. Avoid fertilizing and repotting the plant. Place the plant in an area with bright indirect sunlight. Make use of fluorescent lamps/bulbs indoors. |
| Change in foliage appearance | Curled tips Leaf spots dropping leaves | OverwateringUnderwatering Pest infestation Inadequate lighting exposure to direct lighting Poor temperature and humidity | Avoid watering till the soil is almost dried out or repot the plant. Water the plants regularly without the soil ending up waterlogged. Place the plant in an area where it can receive bright indirect sunlight. Mist the plant regularly or use a humidifier. |
| Root rot | Smelly roots Small pale leaves wilted, yellow, or brown leaves | Overwatering Underwatering Overfertilization | Stay off watering till the soil and roots recover. Water the plant regularly but it must not end up swamped. Repot the plant if the soil condition is bad. |
| Pest infestation(mealy bugs, scale, spider mites, white flies, and thrips) | The appearance of pests. Leaf spots change in foliage color and appearance. Webbing on the foliage surface.Stunted growth. | Cluttered environment Transmission from an infected plant or equipment. Poor humidity Infected potting mix | Isolate infested plants to prevent spread and treat with insecticidal soaps and sprays. Mist the leaves regularly |
How To Prevent Rhaphidophora Pertusa Plant Problems
Before purchasing a plant, check for signs of pest diseases. Stunted growth can be prevented by adequately providing all the growth requirements for the plant.
To avoid overfertilization, follow instructions and recommendations before applying fertilizer.
Root rot can be avoided by creating a watering schedule that adequately caters to the watering needs of the plant. Periodic and proper application of fertilizer also prevents root rot.
Pest infestations can be prevented by keeping a tidy environment. Wash your container before use and ensure the soil is pest-free before propagating the plant. Also, isolate any new plants newly purchased for a period. Sterilizing your pruning equipment before use is an effective preventive measure against transmitting pest diseases.
Never grow your plant in an undersized or oversized pot.
Growing Tips For Rhaphidophora Pertusa
We have provided tips that would enable you to have a stress-free propagation experience:
- Keep your Rhaphidophora pertusa away from cold drafts.
- Reduce exposure to sudden environmental changes.
- Never place them near an air conditioner or heater. This exposes them to extreme temperatures.
- Mist the leaves regularly or use a humidifier to increase the humidity level.
- Visually inspect plants regularly for signs of pest attack.
- Always have more than one specimen for your Rhaphidophora pertusa propagation in case one fails.
- To complement the beauty of your Rhaphidophora pertusa, grow it in an attractive container.
- Always check for a change in foliage color and appearance. Early detection of plant problems
Frequently Asked Questions
Why is my Rhaphidophora pertusa turning yellow?
Does my Rhaphidophora pertusa need support?
Conclusion
If you are unfamiliar with the necessary procedures, propagating and nurturing your Rhaphidophora pertusa can be a herculean task. Don’t fret and be quick to discard the plant when you notice any plant problems.
If corrective steps are taken quickly, most plants will survive any plant problem. What propagation method do you prefer? It would be great if you could share your propagation experience with us.
More houseplant care guides: